In this post, our colleague Sanja Bilinović, a medior 3D artist at Eipix, provides a checklist to ensure your 3D model is in good health.

3D modeling is an art branch relying on other art and technical disciplines: sculpture, photography, physics, architecture, optics, visual composition, and many others. There is so much information out there, and so many different conditions and standards, which often makes the 3D modeler question whether the model is complete and when is the right time to say “ta-daa!” Where do you draw the line from which the model is satisfactory and usable, without obsessively laboring over each voxel.
Every model is born from a geometric primitive, and it is up to us to shape it into something usable, recognizable, and eye-pleasing without losing our minds. To prevent straying into artistic perfectionism and technical hypochondria, what follows is a set of guidelines that will help us determine if our model is vivacious and tidy.
1. Composition
To start things off, let’s establish a few constants. The first one is that, as industry professionals who take pride in their work, we 3D modelers want every one of our models to be healthy, clean and good looking. The second one is that the work in the industry is merciless and constantly forces us to differentiate between “ideal” and “optimal”. This represents the two sides in the eternal struggle between the pace of the production and the quality of work.
In order to better explain certain factors at play, we will borrow the term “technical debt” from our programmer colleagues. Technical debt is a term used to describe the added work necessary when you apply a simple short-term solution instead of the best one.
What does this mean? It means that the time you save by making a quick fix in the short-term will catch up with you somewhere down the road, and you will have to invest added time and work to fix what you should have done in the first place.
However, the programming script is interpreted by machines, while the work of a 3D artist is interpreted by the human eye, which – to be honest – is quite easy to fool. An average scene in a HOPA game contains between 20 and 50 3D models, and they all come together to form a single harmonious visual composition. But, same as with painting, not all elements are equally important and it is not recommendable that they all battle for attention in the eye of the beholder.
The composition of a scene helps us prioritize between elements and allocate special attention, a more generous polycount and a greater level of detail to the elements that are: 1) up front; 2) under a direct light; 3) located in a zoom zone. Our time and creativity budget is formed according to these elements, and they should carry minimal technical debt.
2. Materials and textures
Now that we have determined which assets deserve all our care and attention, let’s put them in some “clothes”. Just as it is with people, you can tell a lot about the 3D model based on the way it is dressed.
The main difference of modeling for HOPA games (or any other games, for that matter), compared to modeling in architecture, medicine, or industry, is that our models play an active part in the shaping of a story. They are not just a mere reproduction of objects existing in reality. What’s more, sometimes they don’t even exist in reality, as we create our own worlds with their own rules, color schemes, stylistic marks, etc. This is why we make sure that our model “speaks” through its shader. This means that our maps will be rich with scratches, stains, cracks and many other imperfections. Our gameplay is loaded with action and dynamics, and our textures must reflect that. This rule is applied to the entire scene, not just its star-assets.
What requires additional time and makes the model better in its own right is proper unwrapping. UV unwrapping is necessary for the proper mapping of irregular organic shapes, as it allows us easier modifications to specific areas of the model and adding of all the little details we already mentioned and which must be in proportion to the size of the model.
3. Geometry
Triangles, quadrilaterals, and other subsequent polygons all come with their sets of both qualities and flaws. However, in the HOPA world, the quadrilaterals, or “quads”, as we endearingly call them, are 3D modeler’s best friends. Why are they better than triangles, for instance, and why do we consider them a guarantee of clean topology? A network of quads has pretty edge loops that can be easily selected and used for UV unwrapping, to better define the edges of objects, and to edit the shapes easily and quickly. The triangles and N-gons do not provide these benefits. Compared to triangles, quads perform much better during subdivision and smoothing. The surface of a model has a much better flow when its wireframe is made out of quads.
4. Proportions
HOPA games place YOU in the role of the main character. Our 3D models and environments will be used by you – a human, not a lizard baby from Mars. Therefore, the models we see in a HOPA game should be just as ergonomic and proportioned as objects in real architecture or industrial design. This means that reference photos and technical drawings are a key part of research and the work itself. A door handle won’t cover half the door, a chair will have its adequate height, and a flower pot won’t grow to occupy an entire room.
Once you know the rules and obey them consistently through the majority of scenes, only then you can play around a but – it is a game after all! Minor transgressions are allowed, especially if you wish to achieve that “cartoony” effect, or if you wish to highlight a certain object. Also, our games are occasionally occupied by lunatics with their secret laboratories filled with weird contraptions, or an angry director putting on a clumsy makeshift recreation of his finest works. To conclude, our scenes and models should include just the right amount of crazy design, as there is in real life.
5. Historical accuracy
Our games span centuries upon centuries, inhabited by Vikings, Slavic gods, and Chinese emperors, with settings as diverse as the Victorian era, Baroque, Art Deco, or the modern days. Not every model we make needs to scream its specific age, but it is essential that a certain number of elements carries clear stylistic distinctions. It is also important that other elements don’t contradict these stylistic markings, and also that they are not too detailed, to avoid the so-called “visual noise” and too many elements battling for the players’ attention. An important step in achieving this stylistic harmony and historic accuracy is using references. Whether we are studying proportions, designing historical elements, or building our own visual library, references are the alphabet of artistic creation.
The most important thing to remember here is that Vikings didn’t have cell phones or air conditioning. We thought this is worth repeating, just so that everyone remembers.
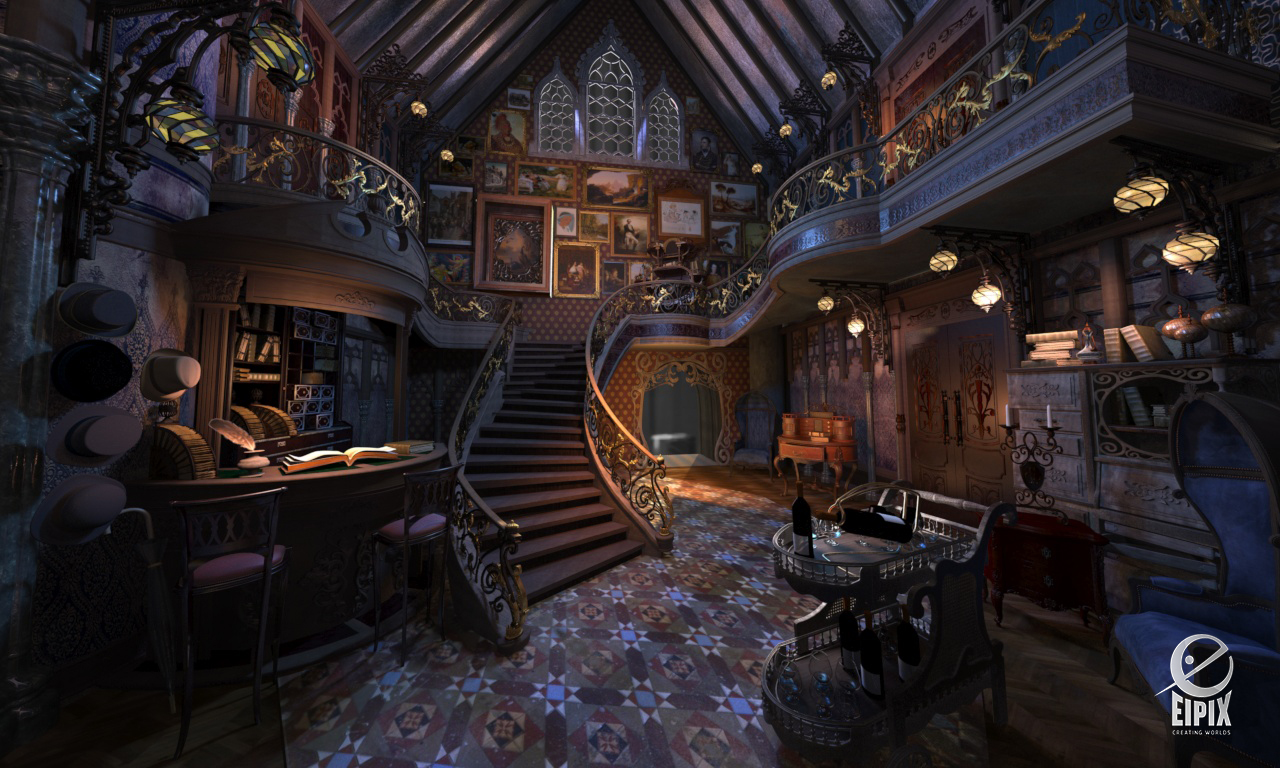
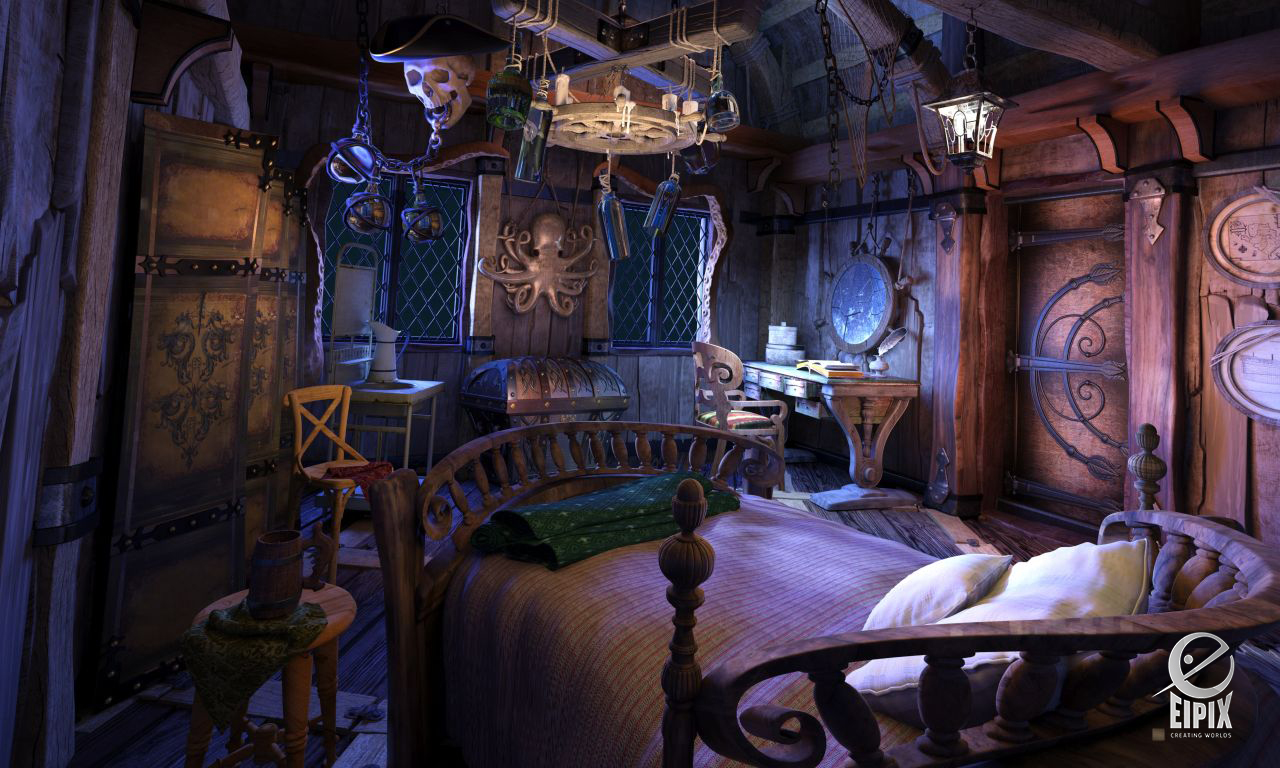
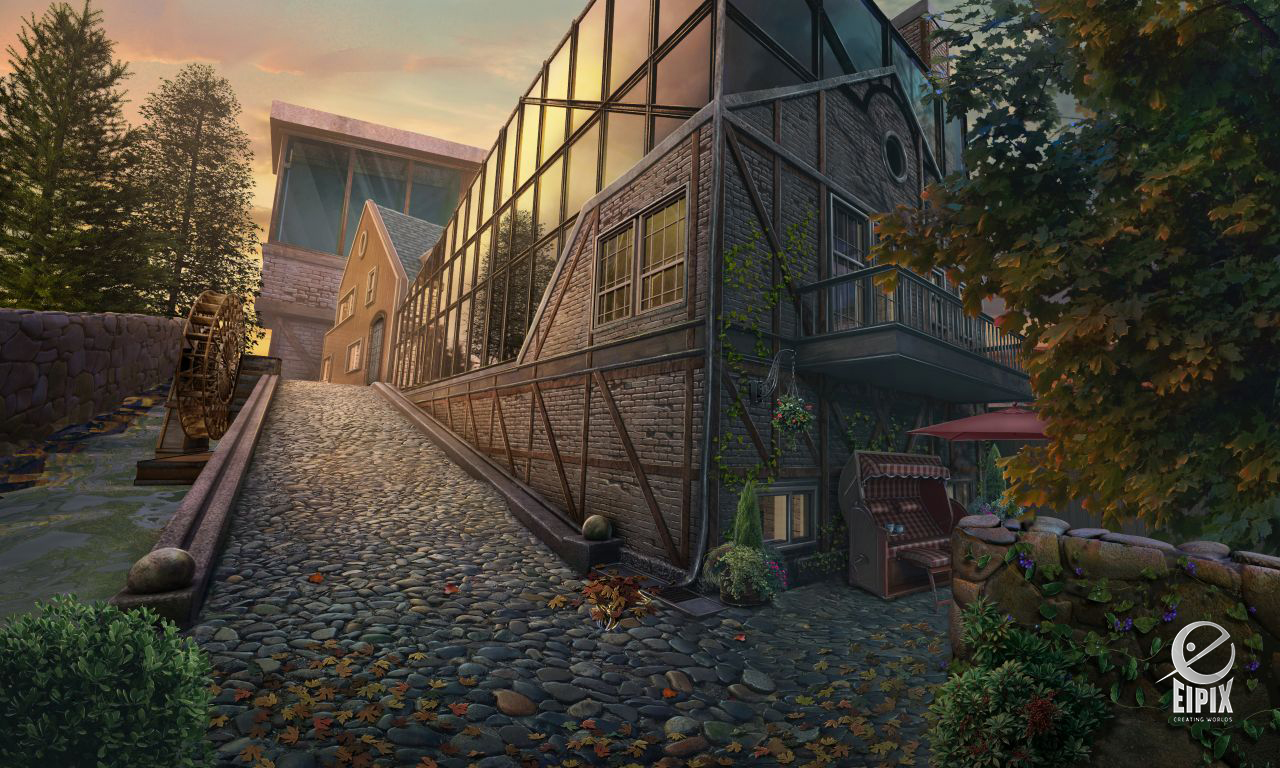
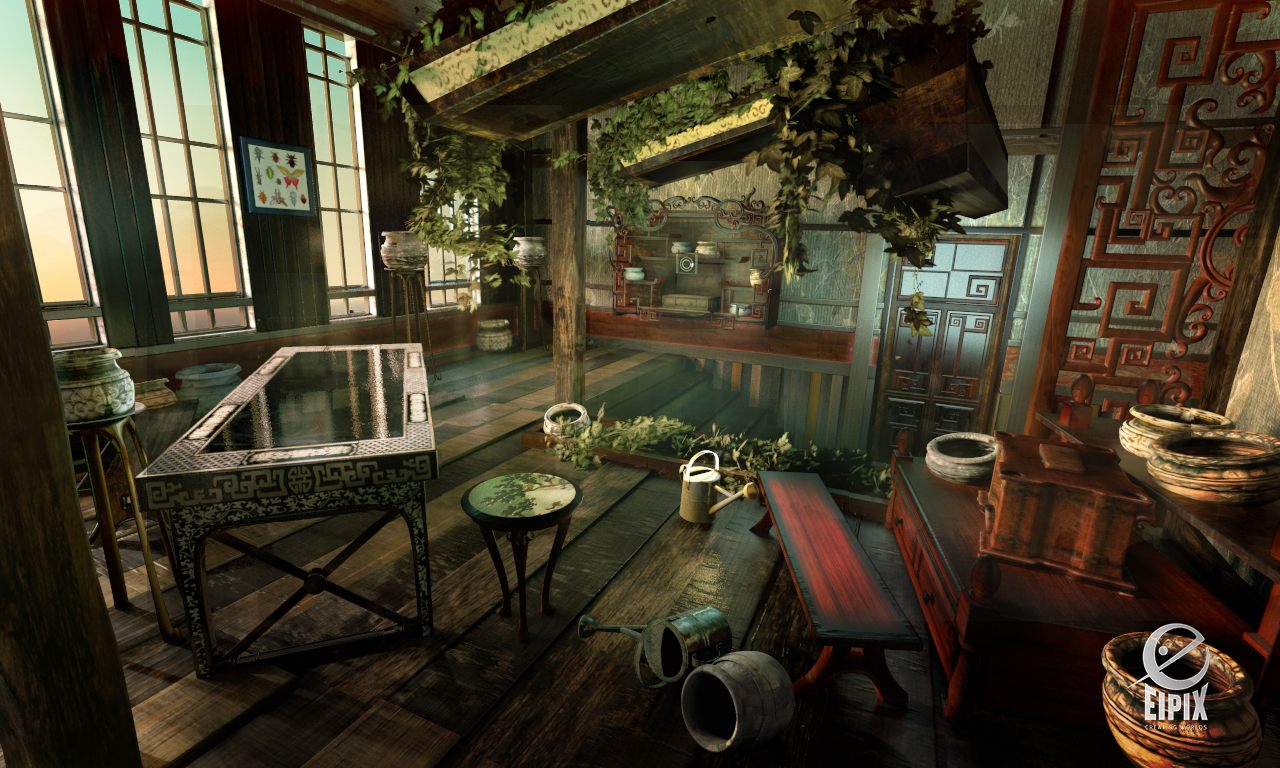
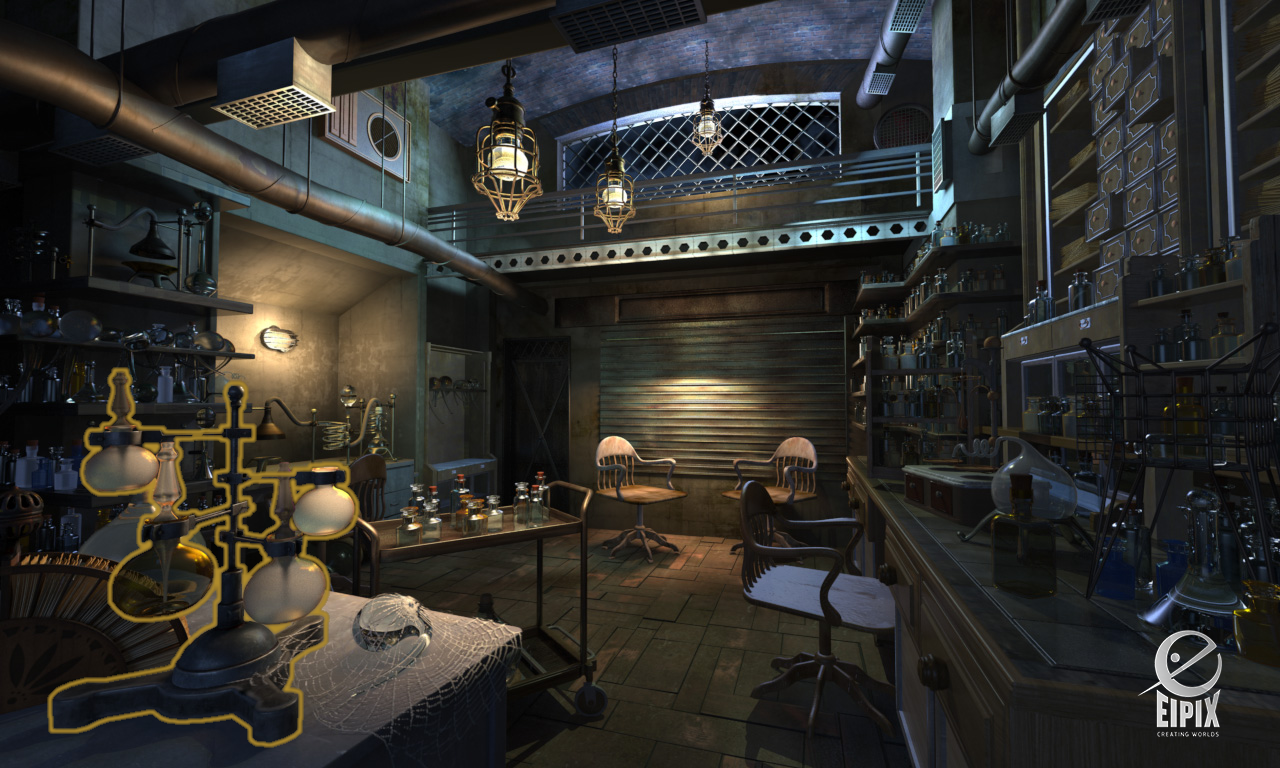
Examples of Victorian (top left), pirate (top right), Scandinavian (bottom left), and Oriental (bottom right) architecture and visual style
6. Animation prep work
Whether you are a one-man show or a part of a team, the above mentioned technical debt mainly relates to this phase of modeling. The prep work for the animation – regardless of whether the animation will be done by you, a colleague, or a remote location outsourcer – is the key to quick, easy, trouble-free work.
Do yourself or your colleague a favor and place that pivot on the rotation axis, check twice what’s linked to what and what’s grouped with what, are there any hidden objects that may cause you problems, separate static and animated objects into separate layers, set the tangents to linear in order to get a seamless loop, and you will love yourself and be loved by your colleagues.
7. Model saving
You would be surprised how often 3D modelers (as well as people in numerous other professions, I suppose) take care of all the heavy lifting and do the hard part to perfection, only to slip up at the tiniest finishing touches. Don’t let your concentration slip up and leave an ugly dark stain on your beautiful piece of art – make sure that the small-but-important finishing touches are done properly!
Let’s start with how you name your model. 3D modeling is a process in which you will usually make numerous versions of a model before it is considered final. If you don’t want to get lost in the jungle of work-in-progress versions with names like “final-almost_final-nearly_there-V43_needs_more_cowbell-version_2.0” or something, make sure that you and your team come up with a simple, effective and coordinated set of naming conventions that will allow everyone to find exactly what they need. A well named model keeps the headaches away, and solid naming conventions are the foundation for finding your way around the library and working in a cooperative team.
The other thing to keep in mind is software compatibility. It often happens that different team members use different types of software to work on the same model. It is essential that you always keep this in mind and save the model in a format that can be used by all team members, regardless of software.
These little steps will allow your gorgeous, healthy, dressed-to-the-nines model to be reused by other team members and reward all your hard work and time invested.


